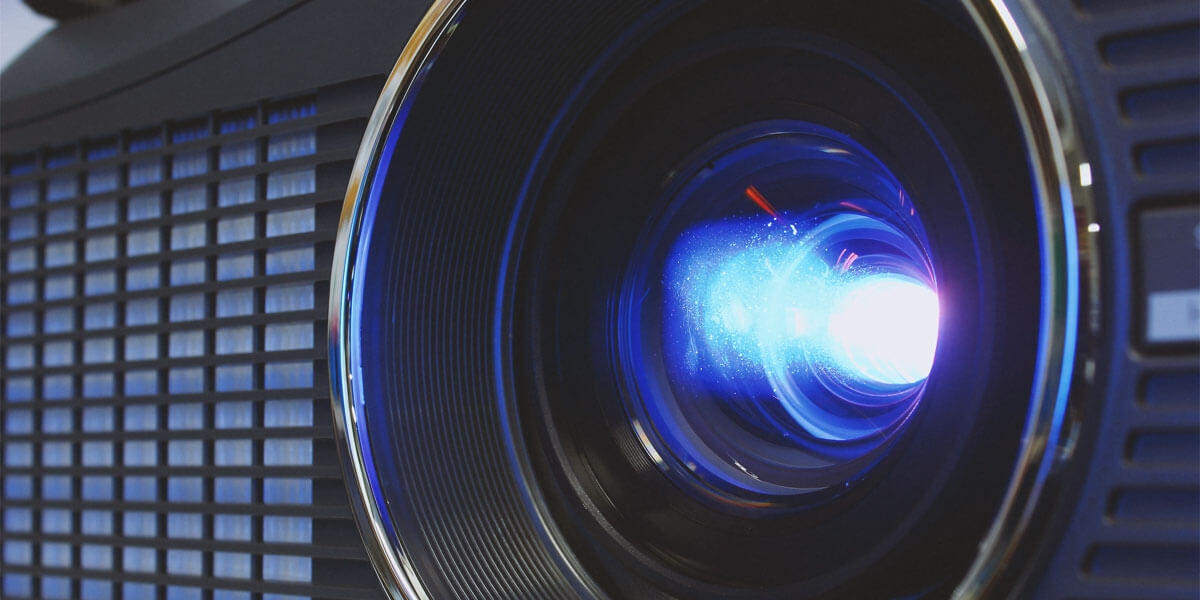
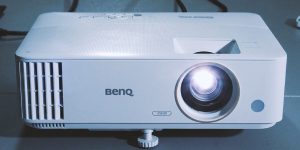
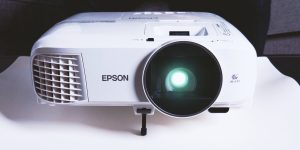
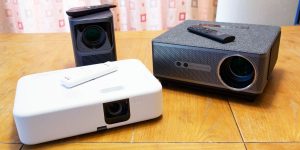
There is nothing extraordinary about the lens on your projector getting dirty. As dust particles are sucked in from the ventilation ports of the projector, they tend to clog up the inside lens, diminishing the image quality. The outer side of the lens is not protected from accumulating dust, so it may also be prone to image quality deterioration. Hence, knowing how to clean a projector lens inside and out is a crucial part of being a projector owner. Because if you are not careful and use the wrong materials, you may produce minor scratches or entirely damage the lens.
Cleaning the lens of the projector
What materials you will need
Cleaning the inside lens of a projector is safe and easy if you have the right materials at hand. So, here is what you will need to get rid of dirt without damaging your lens:
- A soft, clean cloth or cotton swab
- A lens-cleaning brush
- Lens cleaning solution
- Compressed air spray
How to clean the lens safely
Get the projector ready for cleaning
Power off your projector and let it cool down for at least 20 minutes. Make sure you unplug it as well to prevent device damage and reduce the risk of electrical shock. Before you proceed with lens cleaning, remove debris from other external components of the projector to ensure the particles won’t damage the gentle lens surface.
Remove the lens
When the lens has cooled down to room temperature, you can clean it. You will need to remove it from the projector for a thorough cleaning. Mind that every model has its unique design and construction, so the process of opening the projector may differ. Therefore, you should check the manual to get a better idea of how to get the job done.
Clean the lens
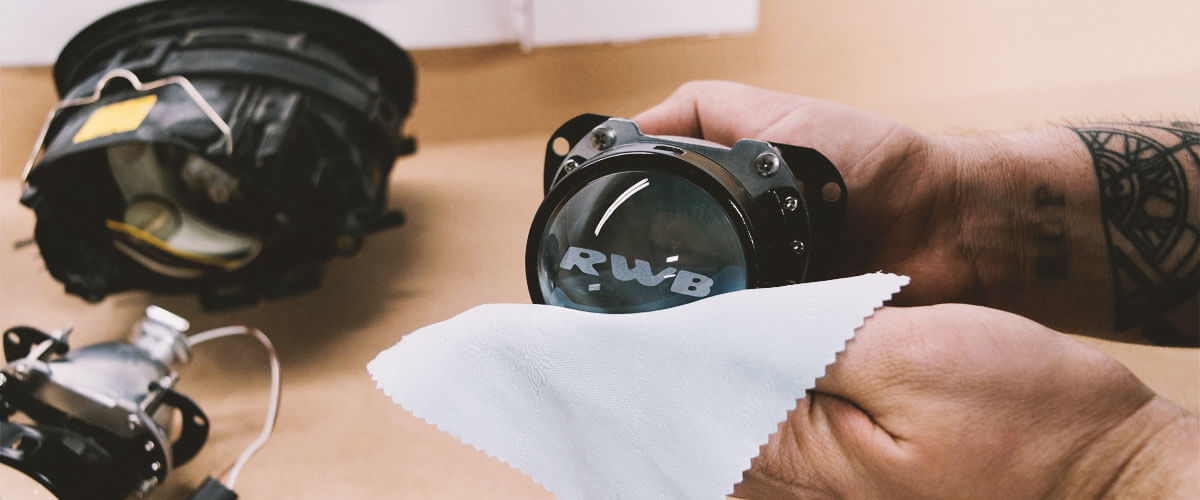
Grab a soft cloth to wipe away any visible dirt or dust. Make gentle, circular motions to prevent scratches. Use a brush to do away with loose particles clinging to the surface. Apply a small amount of a lens cleaning solution to another soft cloth or a cotton swab. Wipe the solution across the lens surface in circular motions.
Finalize cleaning
You will also notice places filled with dust but out of your hands’ reach. Usually, these are ventilation ports. In this case, use a can of compressed air to blow away accumulated dust. Apply short bursts of air pressure to get out dirt stuck to hard-to-reach places.
Let the lens dry completely before putting it back into a projector. Next, assemble the device and make sure all nuts and latches are securely tightened or put in place. Also, do not forget that cleaning the projector screen is crucial for good image quality.
Things to avoid when cleaning a projector lens
To properly clean the lens, make sure you do not make these mistakes:
- DO NOT clean the lens with your T-shirt; otherwise, you will scratch it.
- DO NOT breathe into the lens to blow away the dirt, as you may accidentally split on the glass coating and damage it with the acidity contained in your saliva.
- DO NOT touch the lens with your fingers, as fingerprints are the hardest to remove.
- DO NOT use household detergents to clean the lens.
How to prevent a dusty lens
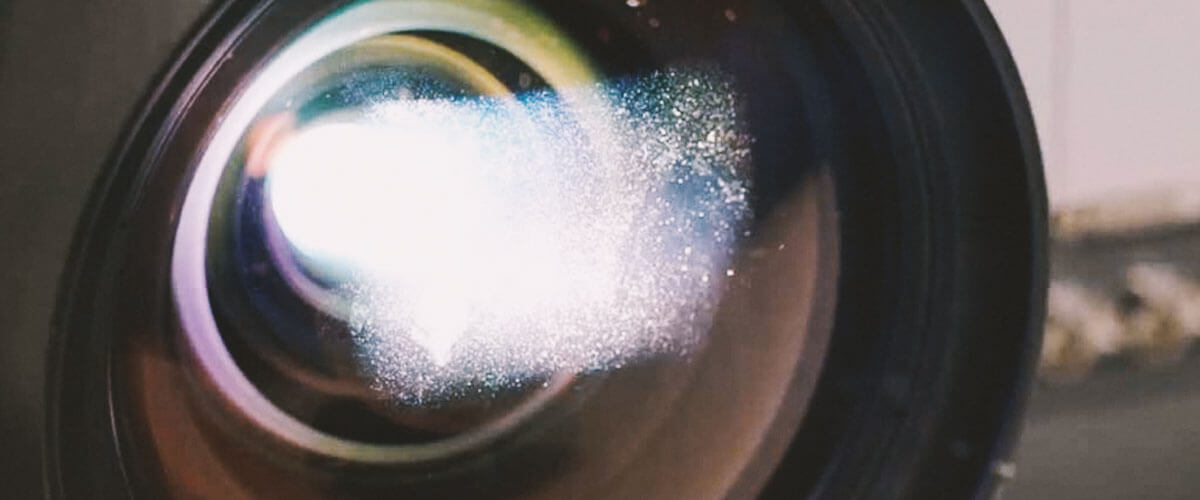
Proper projector maintenance and cleaning will keep dust away from your lens. So, make sure the fan is free of accumulated dust. If you see some, wipe it away with a damp cloth.
Cover the lens with a cap if you do not use the projector. If possible, use air purifiers to maintain healthy air in the room and reduce the number of dust particles that may land on the lens surface.

